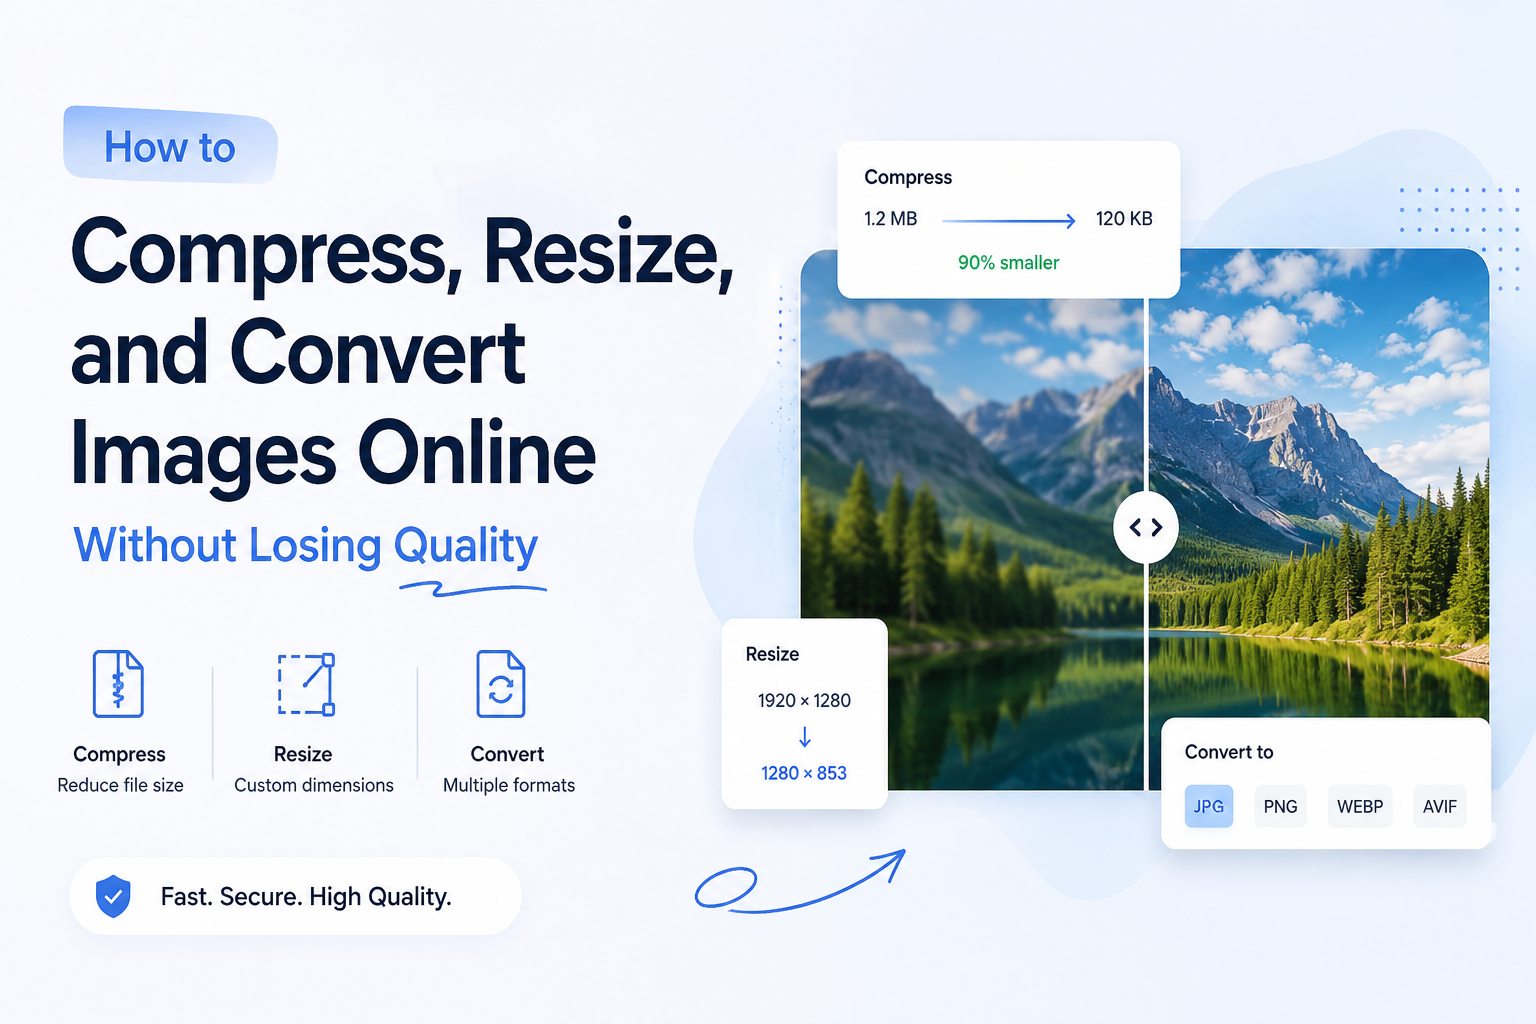
How to Compress, Resize, and Convert Images Online Without Losing Quality
Every website owner, blogger, student, and social media creator eventually runs into the same problem: an image file that’s too big, too wide, or in the wrong format. Maybe your website is loading slowly because of oversized photos. Maybe a form won’t accept your upload because it exceeds the file size limit. Or maybe you just need a quick JPG-to-PDF conversion for an assignment. Whatever the case, free online image tools can solve these problems in seconds — no design software required.
This guide breaks down the most common image tasks people search for, how compression and resizing actually work, and how to pick the right tool for the job.
Why Image File Size Matters More Than People Think
Large images aren’t just inconvenient — they actively hurt you in a few important ways:
- Slower websites. Page speed is one of the biggest factors in both user experience and search engine ranking. A single unoptimized hero image can add several seconds to a page’s load time.
- Failed uploads. Many forms, portals, and apps cap image uploads at 1-5MB. A photo straight from a modern smartphone camera can easily be 8-12MB.
- Wasted storage and bandwidth. If you’re uploading dozens of images regularly, unnecessary file size adds up quickly, especially on mobile data.
The fix isn’t always to lower quality drastically — smart compression can shrink a file by 70-90% while keeping it visually indistinguishable from the original.
How Image Compression Actually Works
Image compression reduces file size using two main approaches:
- Lossless compression – Removes redundant metadata and optimizes the file structure without touching pixel data. Smaller size reduction, but zero quality loss.
- Lossy compression – Slightly reduces image detail in ways the human eye barely notices, resulting in much bigger size reductions (often 60-90%).
For most everyday use — website images, email attachments, form uploads — lossy compression at a moderate setting gives the best balance. You get a dramatically smaller file with no visible difference at normal viewing sizes.
A useful benchmark: compressing an image down to under 50KB is often required by government forms, exam portals, and job application systems, which frequently specify exact size limits like “photo must be under 50KB in JPG format.”
Resizing Images the Right Way
Resizing is different from compressing — it changes the actual pixel dimensions of an image rather than just its file size. This matters when:
- A website theme requires images at a specific width (e.g., 1200px for a blog banner)
- A form specifies exact dimensions for a passport-style photo
- You want a thumbnail version of a larger image for faster loading
The biggest risk when resizing is distortion. A good resize tool should let you either:
- Lock the aspect ratio so the image scales proportionally without stretching
- Manually set both width and height if you specifically need an exact non-proportional size
Always resize before compressing, not after — starting with the correct dimensions means the compression step has less data to work through, producing a cleaner final result.
Converting Between Image Formats
Different formats serve different purposes, and this trips a lot of people up:
- JPG – Best for photographs; smaller file size, some quality loss, no transparency support.
- PNG – Best for graphics, logos, and screenshots; supports transparency, but larger file size.
- WebP – Modern format that offers PNG-like quality at JPG-like file sizes; increasingly used for websites.
If you’re building a website and your images are all in PNG, converting them to JPG or WebP where transparency isn’t needed can meaningfully cut down load times. On the other hand, if you need a logo with a transparent background, converting a JPG (which has no transparency) into a proper cutout PNG is the way to go.
Converting JPG Images to PDF
This comes up more than people expect — combining scanned photos, receipts, or ID documents into a single shareable PDF. A solid JPG-to-PDF tool should:
- Support uploading multiple images and combining them into one multi-page PDF
- Maintain original image quality without unnecessary recompression
- Let you reorder pages before generating the final file
This is especially useful for students submitting handwritten assignment photos, or professionals compiling scanned receipts for an expense report.
What to Look for in a Free Image Tool
Not all online image tools are equal. Before trusting a site with your photos, check for:
- Automatic file deletion after processing — your images shouldn’t sit on a server indefinitely
- No account required for basic compress, resize, or convert actions
- Batch processing support so you’re not uploading one image at a time
- No visible watermark added to your output image
- Mobile browser compatibility, since a lot of image editing now happens directly from a phone
Tools like AtoZKit combine compression, resizing, and format conversion into a single dashboard, which is more convenient than juggling separate apps for each task.
Common Real-World Scenarios
- Job or exam applications: Compress your photo to meet an exact size limit like “under 50KB” without manually adjusting quality sliders by trial and error.
- Website speed optimization: Convert and compress blog images to WebP to cut page load time significantly.
- Social media posting: Resize images to platform-specific dimensions (e.g., 1080×1080 for Instagram) before uploading.
- Document submission: Convert a batch of ID or receipt photos into a single PDF instead of sending multiple separate image files.
Final Thoughts
Image file problems are one of the most common — and most avoidable — hurdles people run into online. Whether it’s a photo that’s too large for a form, a logo that needs a transparent background, or a batch of scans that need to become one PDF, free online tools now handle all of it in a few clicks. The key is understanding the difference between resizing and compressing, picking the right format for the job, and using a tool that respects your file’s quality and your privacy.