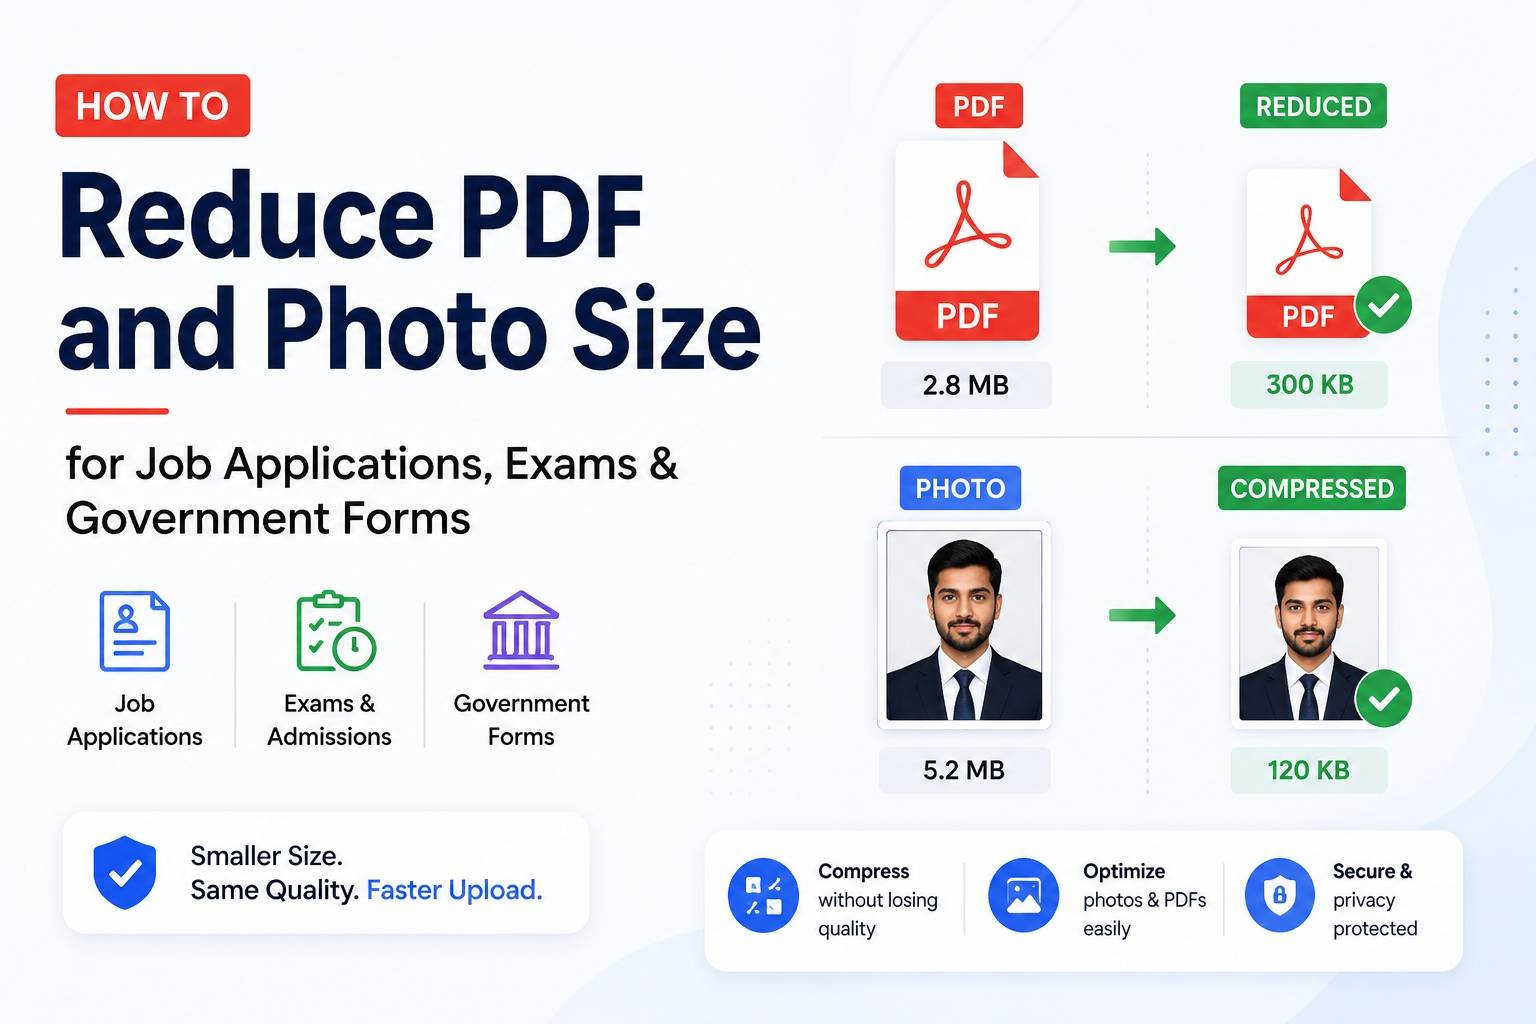
How to Reduce PDF and Photo Size for Job Applications, Exams & Government Forms
If you’ve ever tried to upload a document to a government portal, a job application, or an exam registration form, you’ve probably run into one frustrating message: “File size exceeds the allowed limit.” Most of these portals specify oddly exact requirements — “PDF must be under 200KB” or “photo must be under 50KB in JPG format” — and getting there without ruining quality can feel like guesswork. This guide breaks down exactly how to hit those limits every time.
Why These Portals Have Such Strict Limits
Government and institutional systems are usually built to handle enormous volumes of applicants at once — sometimes millions of submissions during exam season or hiring drives. Strict file size limits keep their servers from getting overwhelmed and speed up processing on their end. It’s not about your document quality; it’s about their infrastructure. That means the burden falls on you to compress your files correctly before uploading.
Step 1: Know the Exact Requirement Before You Start
Before compressing anything, check the exact specification on the form. Common patterns include:
- Photo: under 20-50KB, JPG format, specific pixel dimensions (e.g., 200x230px)
- Signature: under 10-20KB, JPG format
- PDF documents (resume, certificates): under 100KB-2MB depending on the portal
Compressing blindly and re-uploading repeatedly wastes time. Know the number first, then work backward.
Step 2: Compress Photos to an Exact Size
Most photo compressors let you either pick a quality percentage or a target file size directly. If your tool supports “compress to X KB,” use that instead of manually adjusting a quality slider — it saves multiple rounds of trial and error. If your tool only offers percentage-based compression:
- Start around 60-70% quality
- Check the resulting file size
- Lower the percentage gradually if it’s still too large
Passport-style photos usually compress very efficiently since they’re simple portraits with a plain background, so you rarely need to sacrifice noticeable quality to hit a 20-50KB target.
Step 3: Compress PDF Documents Without Losing Readability
For text-heavy documents like resumes or certificates, compression barely affects visible quality since most of the file size comes from fonts and embedded images rather than the text itself. For scanned documents (like degree certificates or ID scans), the image resolution is what drives file size, so:
- Choose “medium” compression for scanned pages — it removes excess resolution while keeping text legible
- Avoid “high” compression on scanned certificates, since it can blur small print like seals or signatures which examiners often check closely
Step 4: Double-Check Dimensions, Not Just File Size
A common mistake is hitting the KB limit but ignoring the pixel dimensions the form asked for. A photo that’s 50KB but 3000×4000 pixels won’t necessarily match a requirement for “200x230px.” Resize to the exact dimensions first, then compress — doing it in the wrong order can distort the image or push the file size back up after resizing.
Step 5: Convert Multiple Documents Into One PDF
Many application portals only accept a single PDF for “supporting documents,” even if you have five separate certificates. Instead of submitting them one by one (which often isn’t even allowed), scan or photograph each document, then merge them into a single PDF in the correct order — usually education certificates first, followed by experience letters, then ID proof.
Common Mistakes to Avoid
- Screenshotting a resized image instead of properly resizing it — this often adds extra pixels and file size rather than reducing it.
- Repeatedly re-saving a JPG, which degrades quality every time due to lossy re-compression. Always compress from the original file, not a previously compressed copy.
- Ignoring format requirements. Some portals reject PNG images even if the size is within limits, because they explicitly require JPG.
- Uploading at the last minute without testing the file first — always confirm the size and dimensions before the deadline, since portals can be strict about resubmission windows.
A Simple Pre-Submission Checklist
Before you submit any form:
- File format matches exactly what’s requested (JPG vs PDF vs PNG)
- File size is under the specified limit, not just close to it
- Dimensions match if specified
- Document is legible after compression — zoom in to check
- Documents are in the correct order if merged into one PDF
Final Thoughts
Meeting strict upload requirements isn’t complicated once you understand the process — resize first, compress second, and always check the final result against the form’s exact specification. With free online compression and resizing tools, you can typically get any document or photo down to the required size in under a minute, without needing design software or repeated trial and error.